I bought Candy Castle Pattern’s Pumpkin Pie Poncho pattern when it was first released. I finally made one today. It is a quick project. The pattern piece get cut up and isn’t really reusable. Saves paper if you are just making one, but requires extra printing or tracing if you are making multiples of the same size.
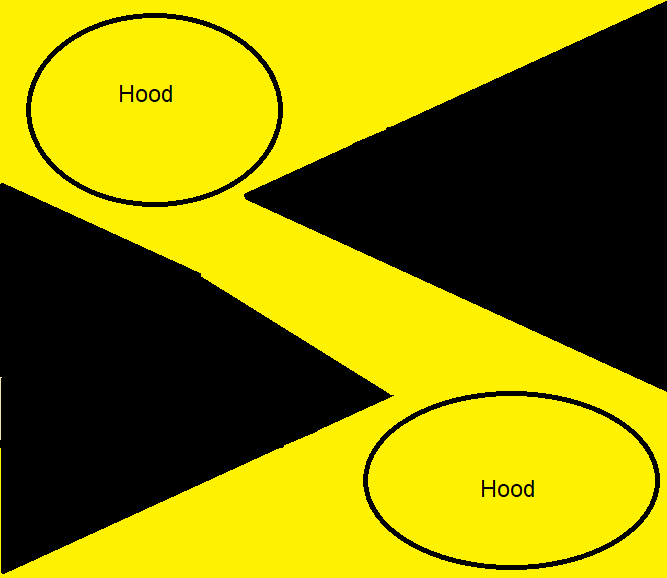
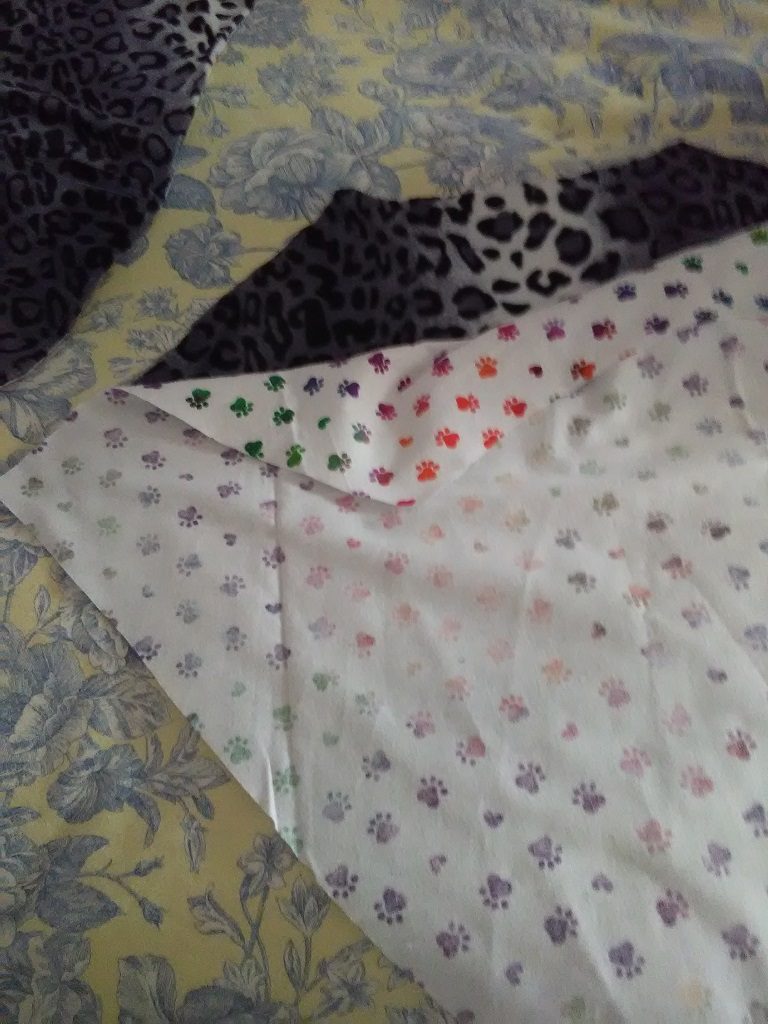
The pattern says it needs 1.25 yards of a 60″ wide lining fabric for a size 6. Problem is – I only had one yard of the flannel lining, and it was 42″. Looking at the pattern piece for the main body is not a rectangle – one side is a lot narrower than the other. Instead of folding the fabric in half and cutting two pieces along the folded line, I folded the fabric just enough the poncho body fit on the part with two layers. Cut one piece along the fold

Then unfold the fabric fold the *other* side down — there will be parts where there is only one layer of fabric – where the first piece was cut. Align the pattern piece so the widest section is away from the cut section. The narrow section of the pattern fits on the fabric with two layers. Cut the second poncho piece.

Unfold the fabric – there is a odd shaped bit adjacent to each poncho cutout – these can be used to cut the hood piece (or cowl). Voila – poncho lining from one yard of 42″ wide flannel.
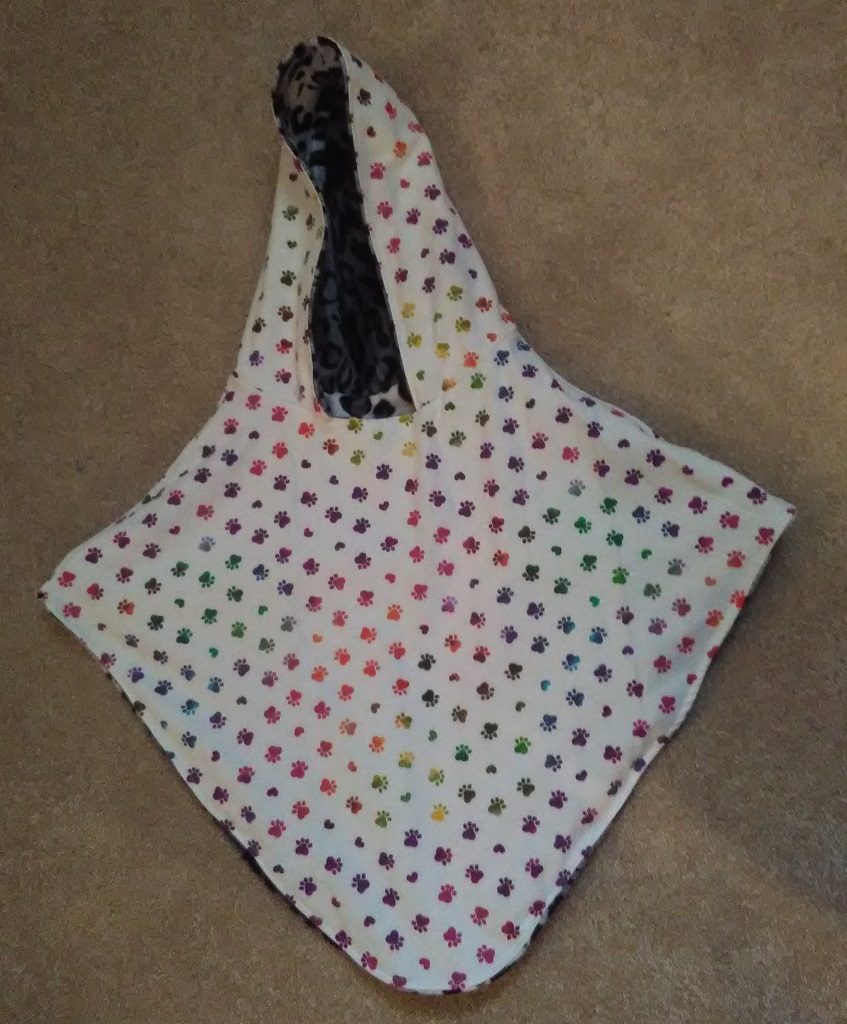
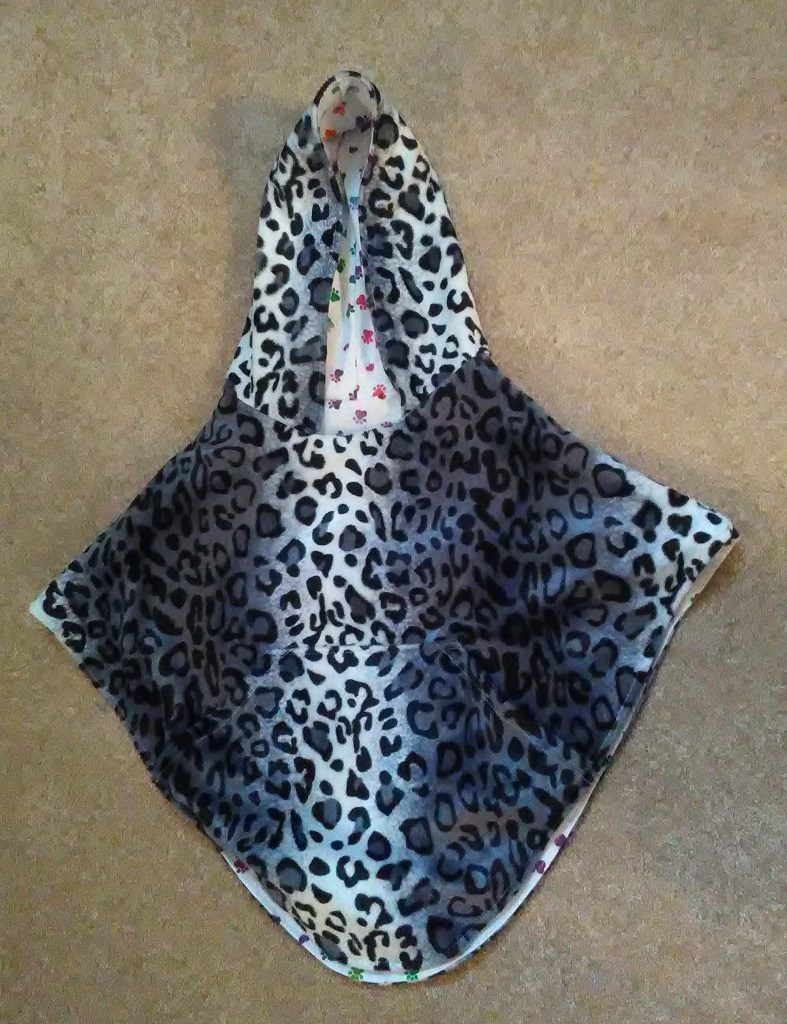
When I started fitting the pieces together, I realized this could be done as a reversible poncho. Doing so required modifying the process a bit — the main piece fabric and lining were still aligned right sides together.
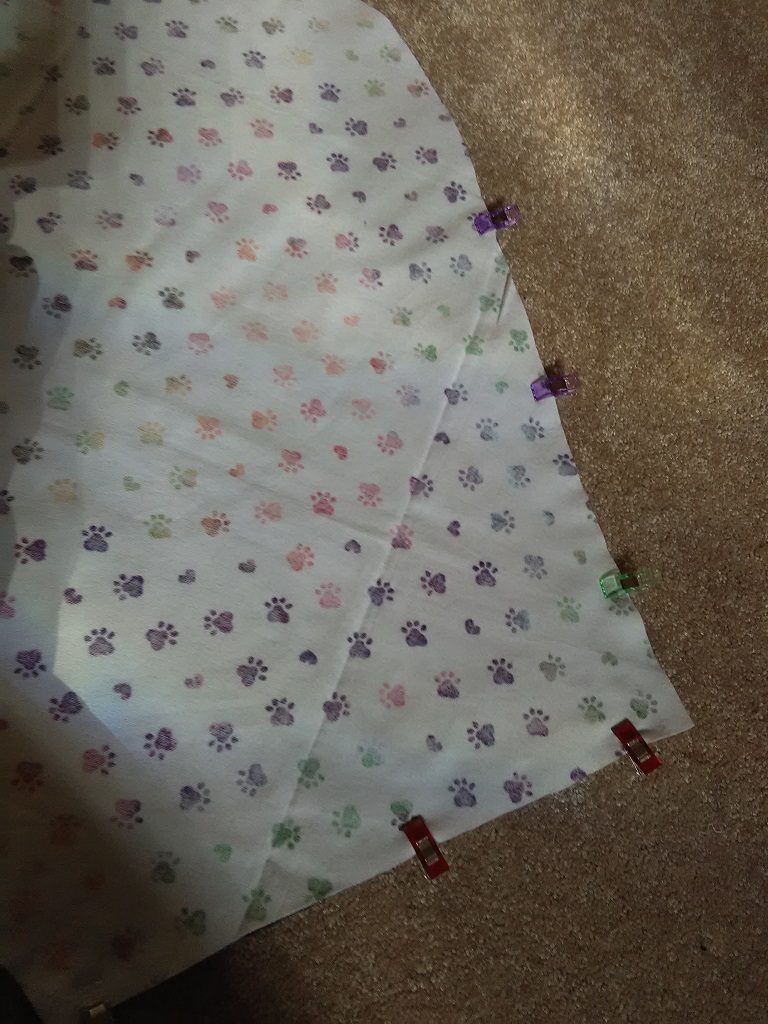
I used clips instead of pins, so Anya was able to ‘test’ the poncho as it was being constructed.
Serged along the bottom curve, turned right way about, and top stitched. The pocket fabric was still sandwiched between to attach it.
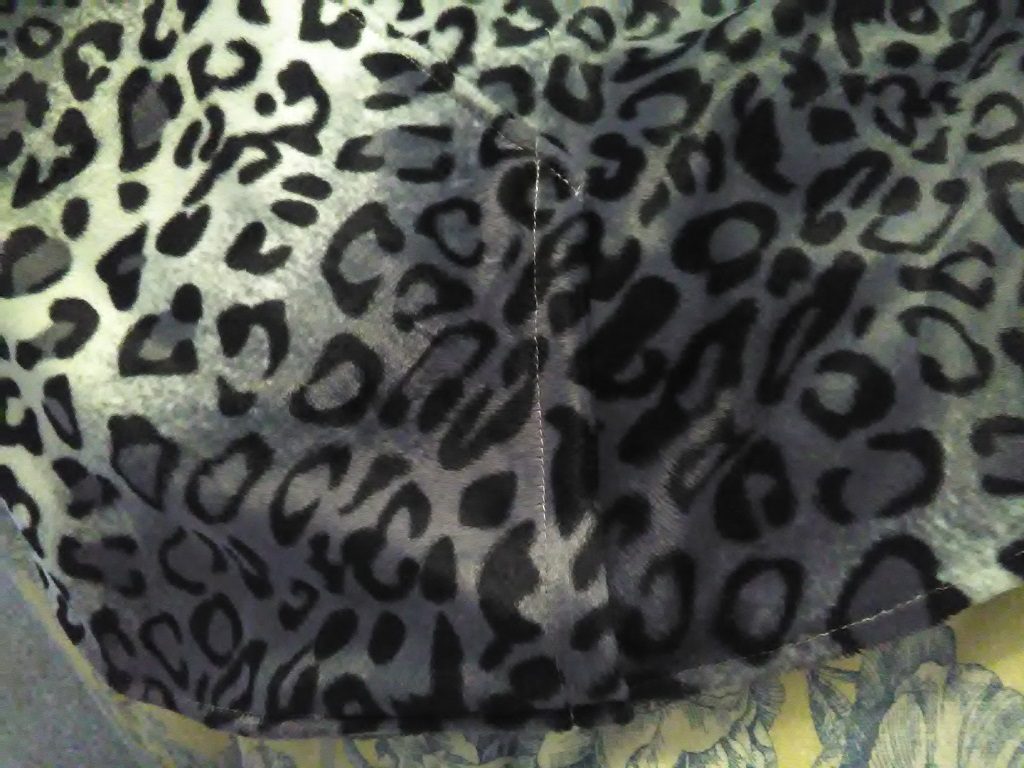
The top stitching runs right along the serged part, so it’s a little bit stiff and puffed up.
Then the fabric and lining along the arms were stitched separately – leaving the seams encased inside the ponch. The two pieces of each hood were serged together. The two hoods were nested inside each other, right sides together, and serged along the front. Turned the hood right side out and top-stitched along the front. The two fabrics, at this point, are free along the neckline. The main fabric of the hood was lined up, right sides together, along the poncho neckline and serged just to the main fabric poncho body.
The lining fabric was the tricky bit. The same basic process – line the fabric up, right sides together, with the poncho body lining material and serge it together. *But* it cannot be completely stitched on the machine a the stitching reduces the hole through which you are sewing the material. I serge it for all but about 5″ – moving the still-opened hole along the seam being sewn. I then turned the remaining edges over and hand-stitched the remaining bit that is right along the front neckline. Anya doesn’t like hoods that wrap around her neck (although she’ll wear a scarf, go figure!), so I modified the hood to have a small gap along the front.
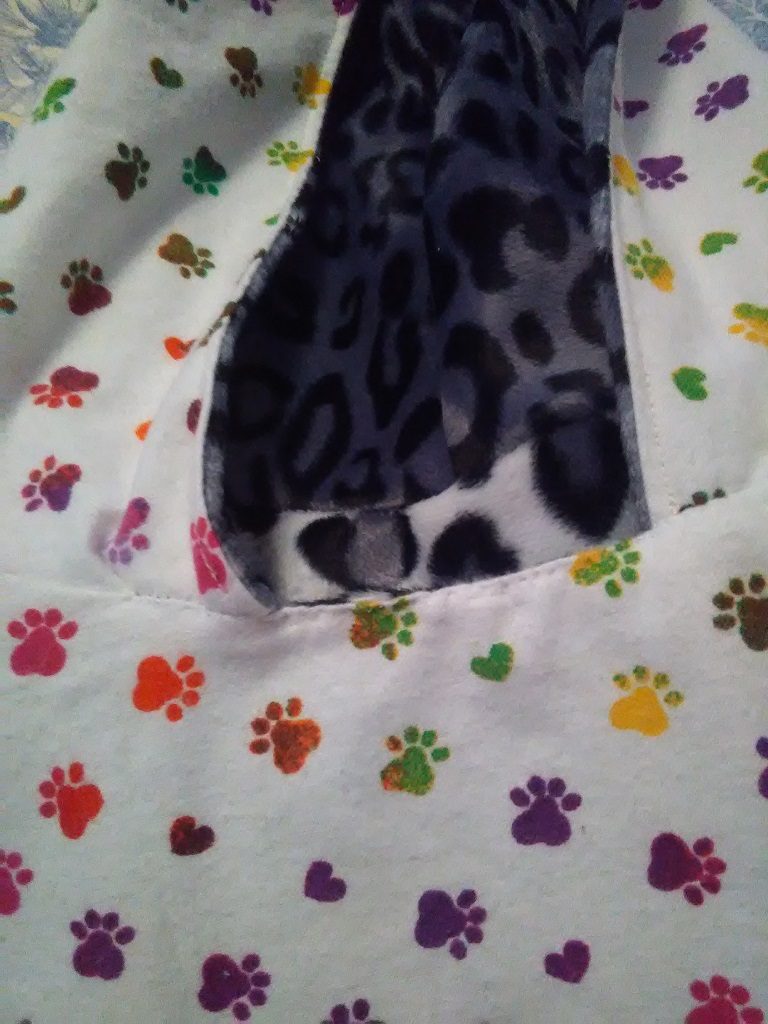
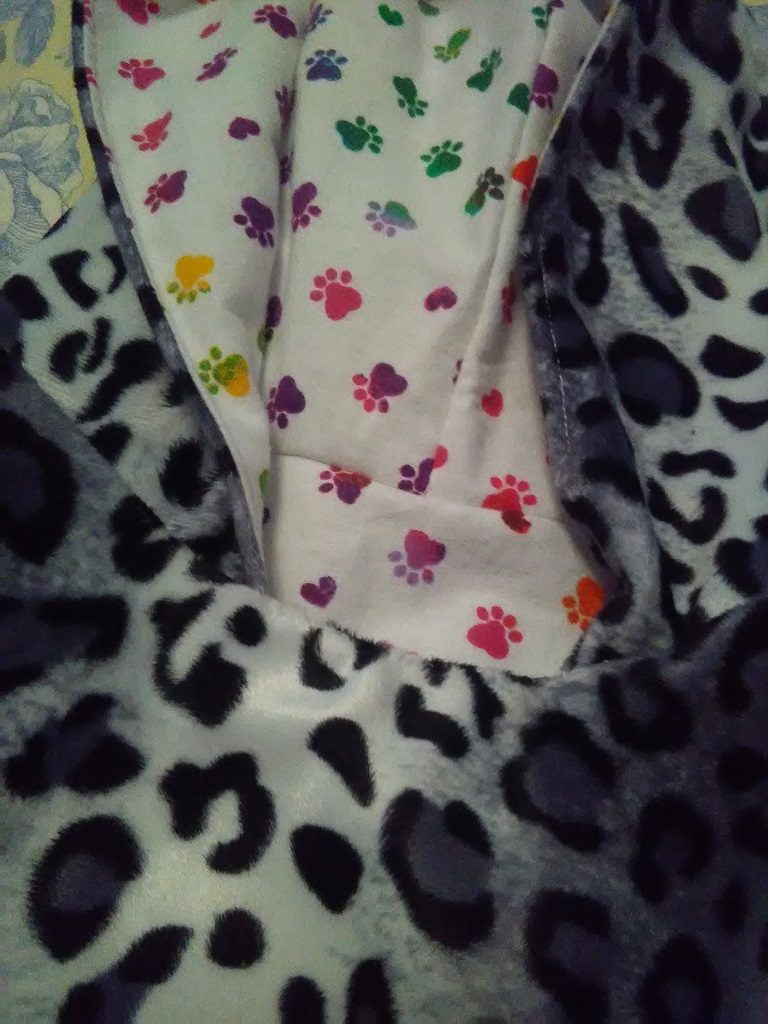
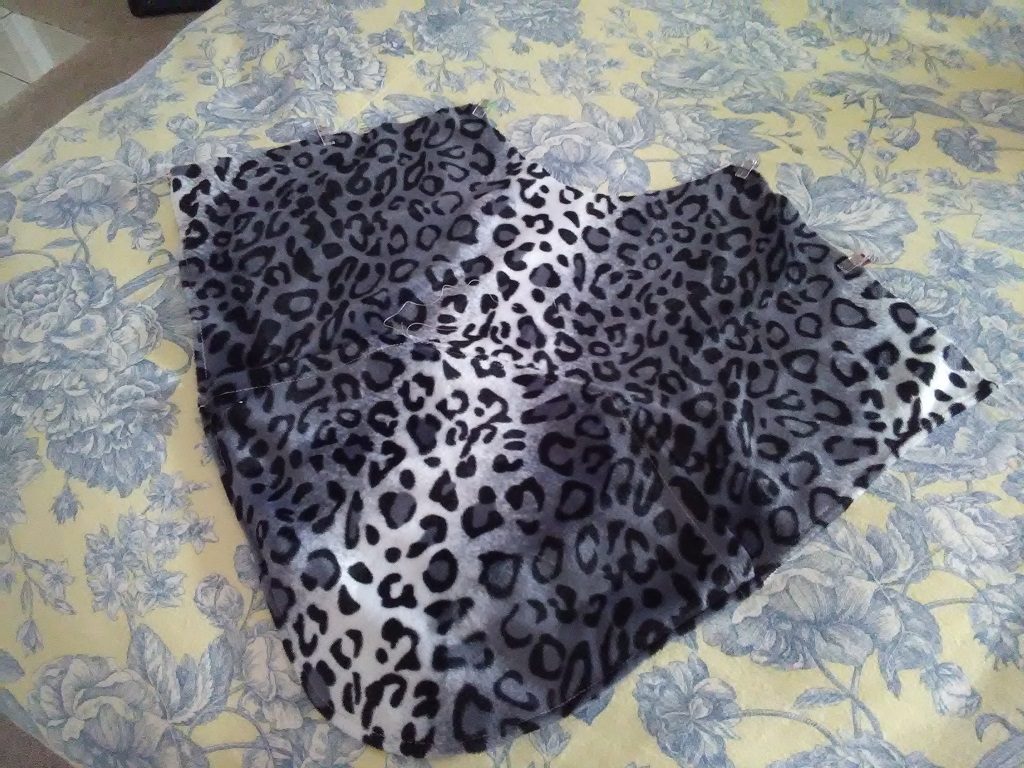
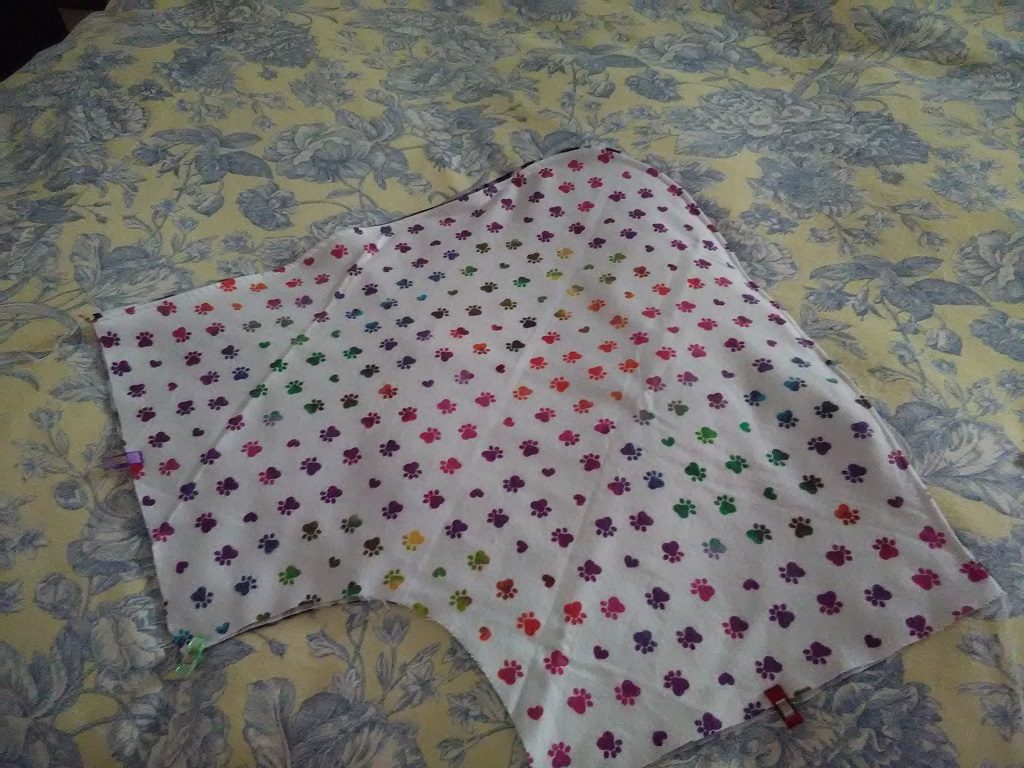
The process is a little more difficult, but we’ve got a pawprint poncho and a snow leopard one. There’s no pocket on the flannel side — mostly because I didn’t have enough fabric 🙂 But she keeps her arms on the inside and uses the snow leopard pocket.